The world of Horizon: Zero Dawn is dangerous for any novice hunter, so don’t go out into the field without arming yourself with a quiver full of hunting tips and tricks. Whether you’re using stealth to eliminate beasts in a quiet fashion or jumping out in a blaze of arrows and sling bombs, our guide will help you figure out the best way to dominate the metal creatures of this strange world.
Everyday Hunting Tips
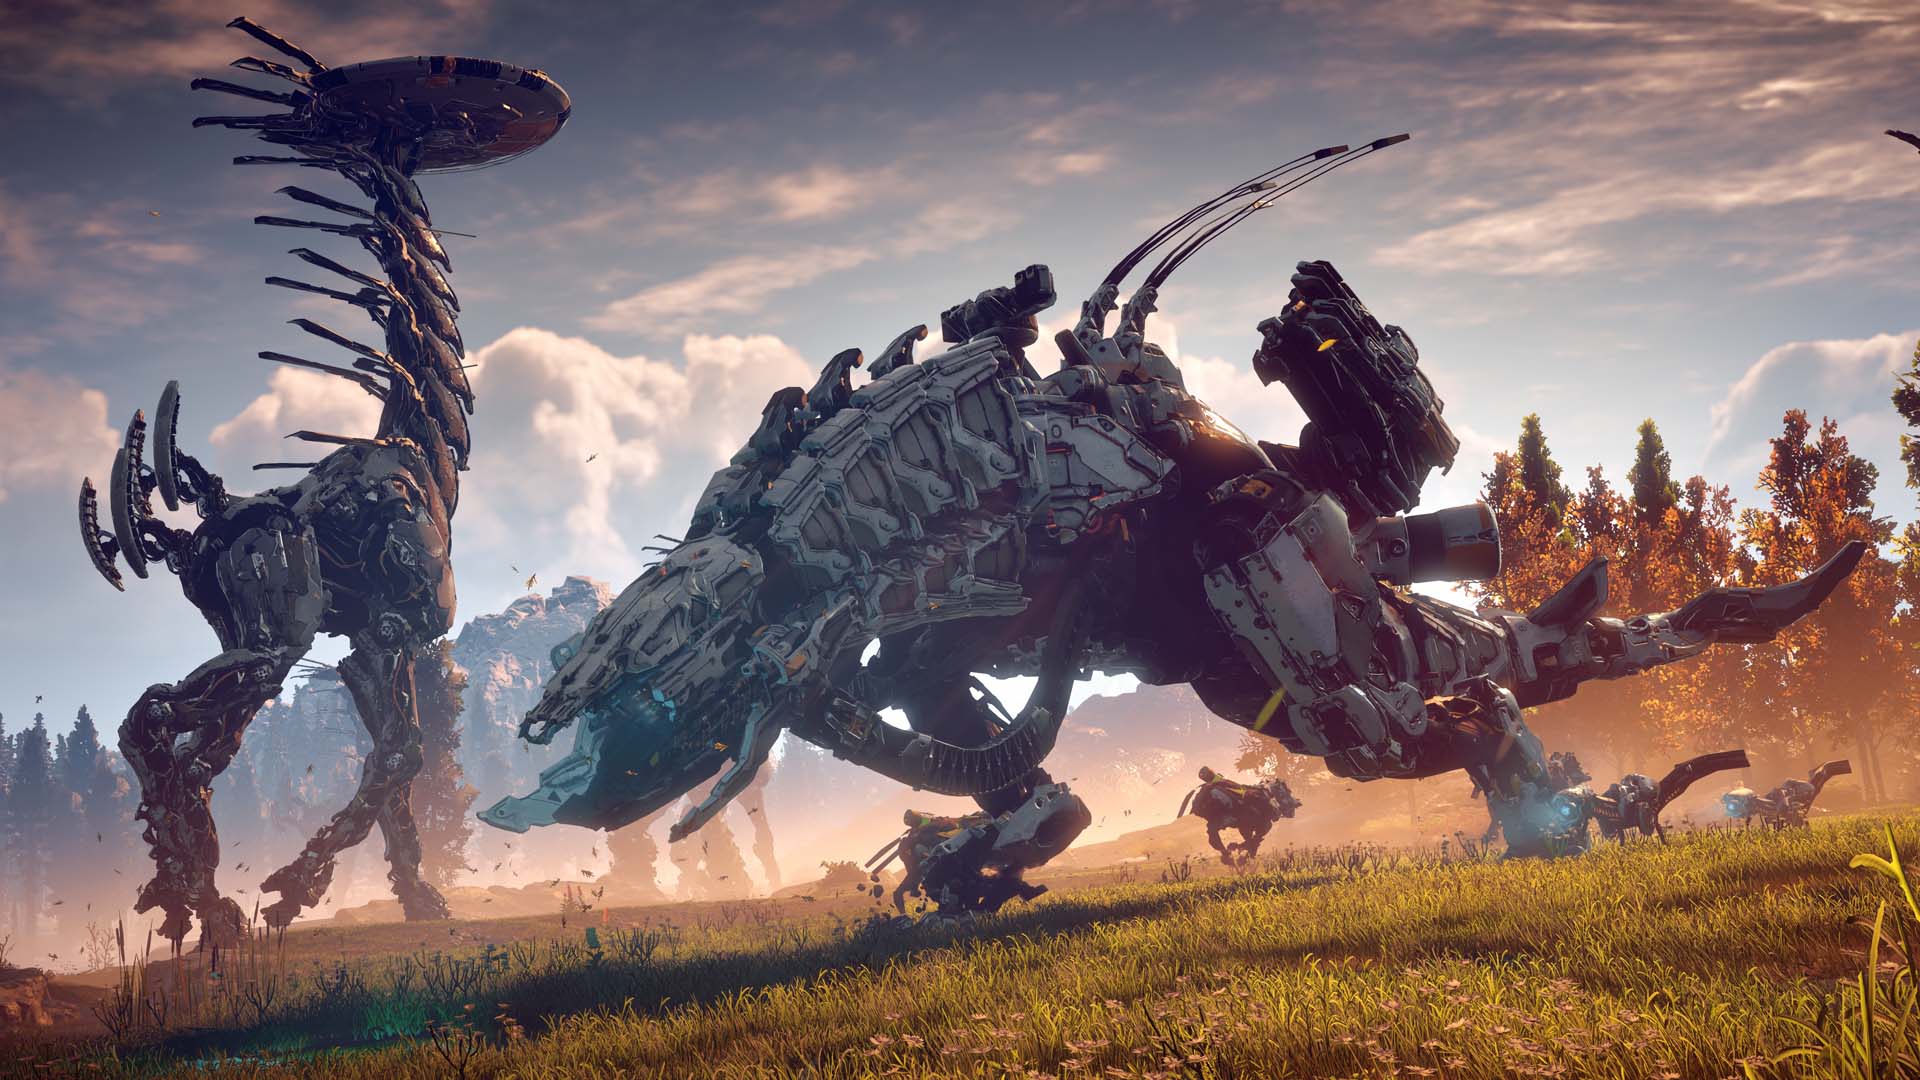
- Use Your Override: Don’t be so proud as to not override your prey and force them to do your dirty work. This goes double if you come across a camp of multiple dangerous beasts, such as the Sawtooth or Bellowback. Override, then sit back and watch the kaiju-esque carnage.
- Manage Herds with Stealth: The best way to handle large herds of small and medium Machines is to hop into some gross, use your whistle tool to call over an enemy one at a time, then use your stealth kill. Not the most glamorous way to hunt, but it’s effective.
- Survey the Field During the Slow-Down Effect: The slow-down effect when aiming a weapon, jumping, or sliding is a powerful tool that gives you a chance to survey the field. Use this fast-charging game element to make split-second decisions or set-up a chain of kills, such as blowing up the flammable canisters on the backs of multiple Machines.
- Use Stealth in Water: If you find yourself near a stream without grass to hide in, just remember that water is your friend.
- Remember Enemy Health Doesn’t Regenerate: You can run away away for a break if needed.
Weapon-Specific Hunting Tips
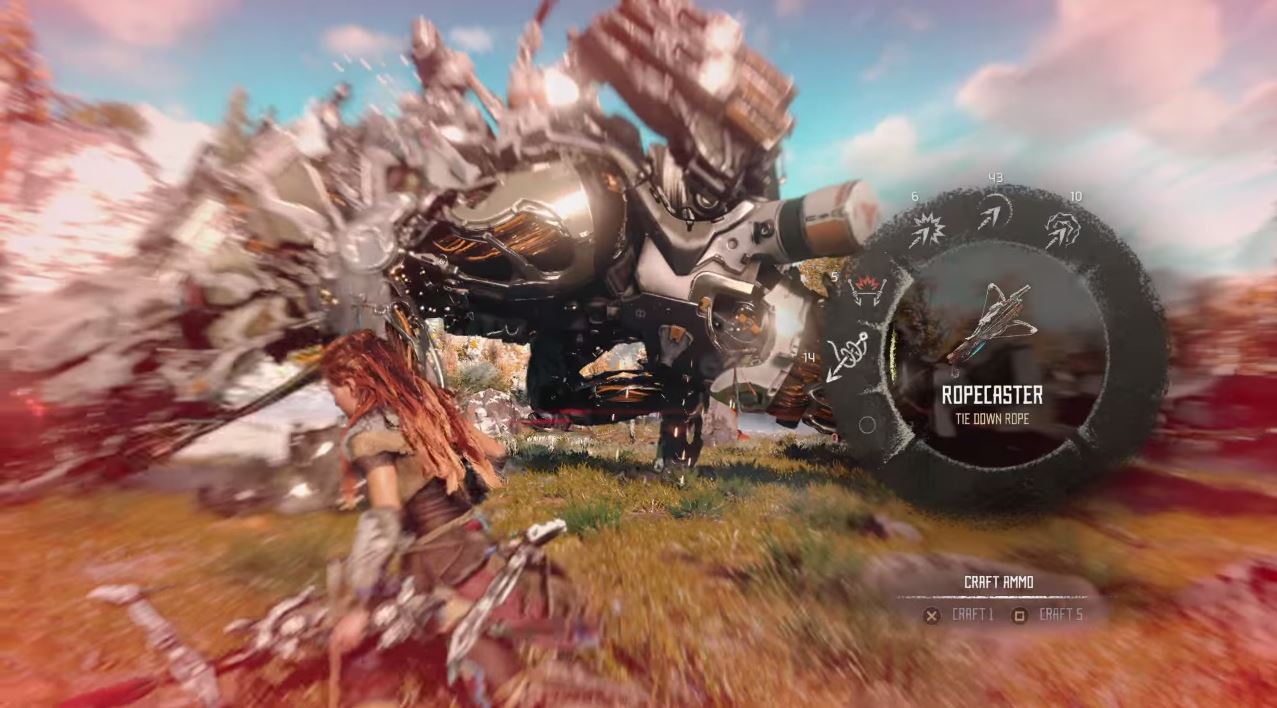
- Use the Tripcaster and Ropecaster Strategically: Where the tripcaster puts down elemental-laced explosives, the ropecaster literally ties enemies down to the ground. As the target takes damaged while tied up, they’ll begin to break out faster. With that in mind, the best use of this weapon is to compartmentalize your fights against multiple enemies, saving one enemy for later and making the fight 1 on 1.
- Pinpoint Damage From Afar: The sharpshot bow, in addition to being your best long-range weapon, also has a high amount of defense-breaking and tear damage. For blowing off multiple components, a well-placed tearblast arrow will strip the defenses of any beast. For targeting specific parts, such as the Long-Leg’s concussion sac, the normal sharpshot arrow can disable in only a few blows.
- Control Stampedes with Slings: The slings are powerful weapons that can either start a fight, initiate taking down an entire herd, or slow down a massive enemy on your tail. With the more docile machines that tend to run away in packs, use a bomb on one side of a herd to direct their stampede in a favorable direction, preferably through a collection of trip-wires.
- Ignite Blaze Canisters: Elemental weapons are a powerful tool, but fire and explosions are downright destructive. If you’re looking to kick off a fight or take down a herd in one fell swoop, use your fire arrows to ignite the Blaze canisters on the backs of beasts like the Grazer or Broadhead. Not only will any flesh-and-blood animals die in a blaze of glory, you’ll do massive damage to the Machines.
- Utilize Both Traps and Trip-wires: Your tools menu is an underrated source of damage and trickery, so be sure to remember the fire, explosive, and shock traps that are craftable. These traps work great in conjunction with trip-wires, so set up a killing field for bigger beasts and herds alike.
Beast-Specific Hunting Tips
- Double-Check for Watchers: There’s nothing worse than rolling up on a herd of beasts that are prime for the taking, only to have the party spoiled by one or two Watchers. These little buggers can be hard to kill in a hurry, so do yourself a favor and remove them from the equation before going on a hunting spree.
- Take Out Shell-Walker Claws First: Shell-Walkers seem harmless enough, but don’t sleep on these beasts; they’ll go into a rage if you detach them from their booty. Not only can Shell-Walkers bring up a 180 degree shield, but they can also shoot energy from their claws. Do yourself a favor and take out the claws before going for the treasure.
- Remember Bellowback Fire Immunity: The Fire Bellowback is a dangerous beast by itself, let alone three or four. Worse yet, they’re mostly immune to fire, so the old trick of blowing up their Blaze canisters isn’t as effective as with other Machines. It’s best to eliminate these beasts one at a time. Remember that running away tip from earlier? Excellent application against the Bellowback.
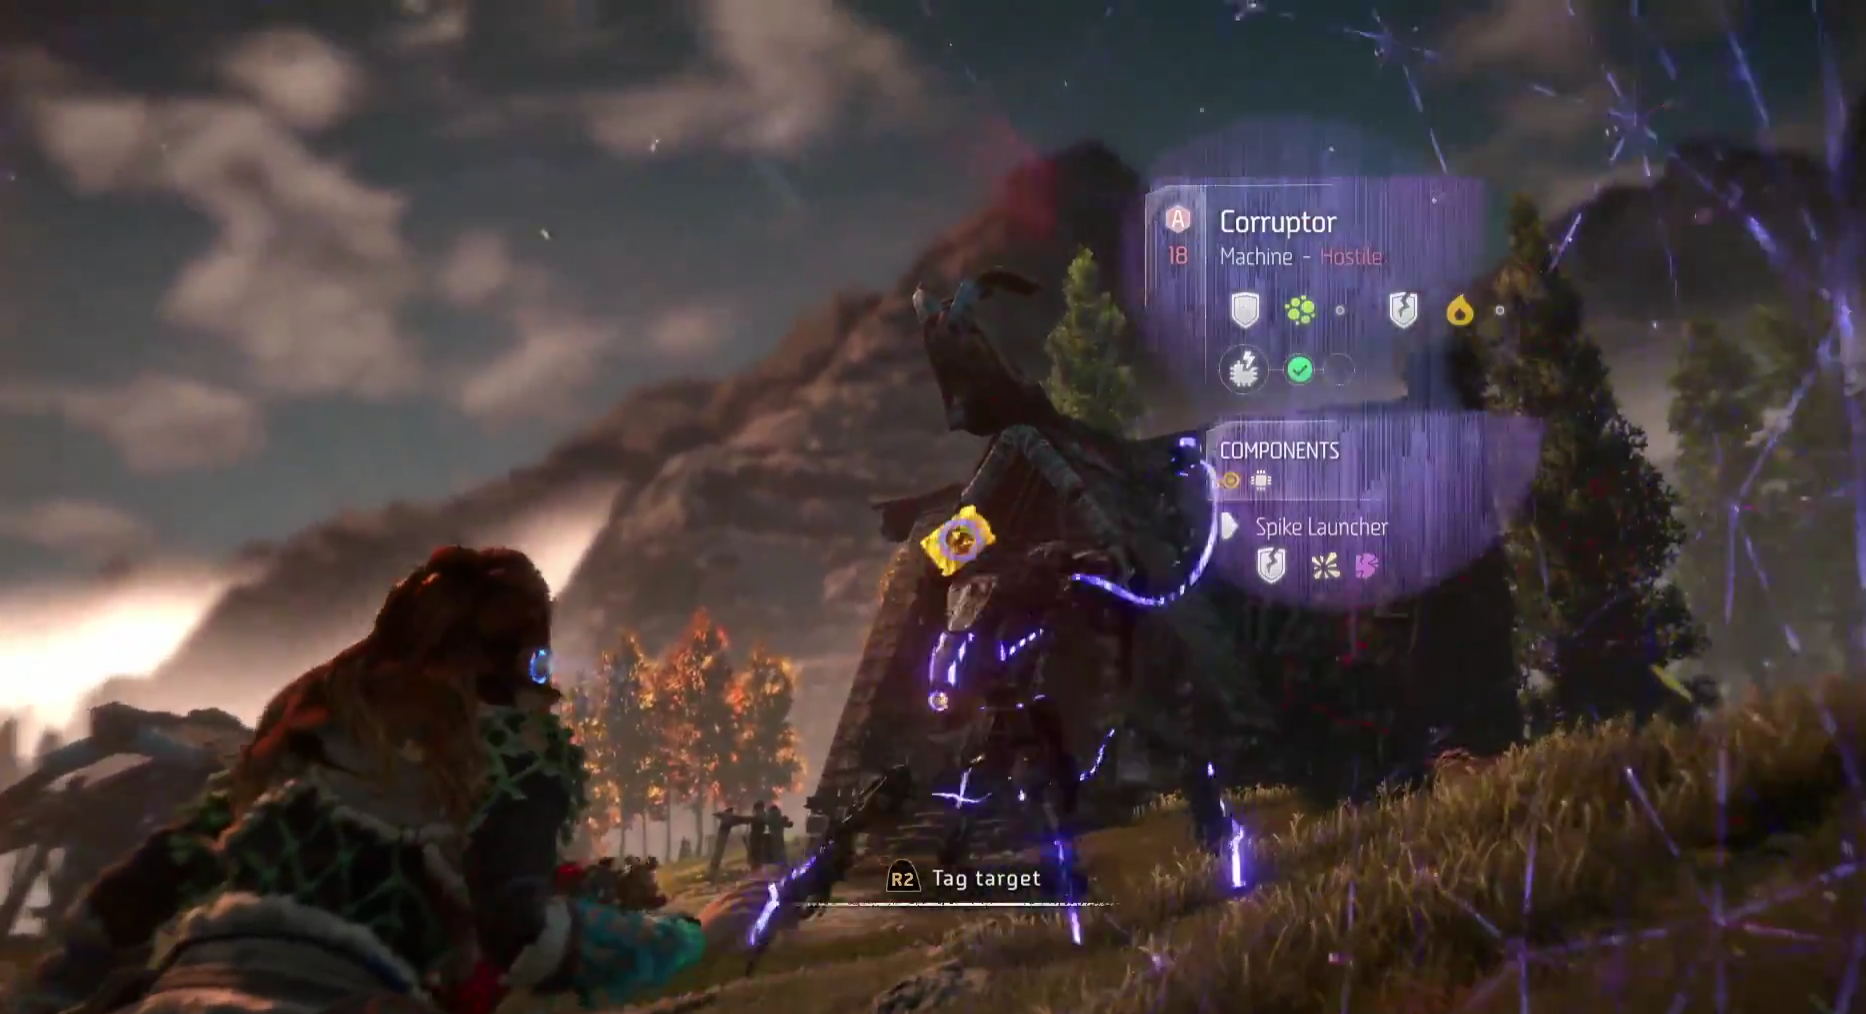
- Kite Corrupted Beasts Into Normal Enemies: Corrupted beasts will attack anything that moves, whether it’s Aloy or a random herd of Striders. If you’re running into trouble with a corruption zone and there’s a Machine site nearby, think about kiting the baddies into an unknowing pile of normal enemies, then watch the havoc ensue.
- Eliminate Bird Machine Coolant Canisters: The bird Machines, especially the Glinthawks, are a constant danger due to their habit of being annoying targets to hit with projectiles. If you get a good shot off in bullet-time, aim for the coolant canister that, when broken, freezes the beast and sends it crashing to the ground.


